- A Step-by-Step Guide to Install Laravel
- 6 months ago
- 2 min read
Laravel is one of the most popular PHP frameworks known for its elegant syntax, powerful features, and ease of use. If you're a web developer looking to create dynamic, feature-rich web applications, learning how to install Laravel is essential. This guide will walk you through the steps of installing Laravel on your local machine, ensuring you get started smoothly with your web development journey.
Prerequisites
Before you begin, make sure you have the following installed on your computer:
- PHP: Laravel requires PHP version 8.1 or higher.
- Composer: Laravel's dependency manager, used to install the required packages.
- A Web Server: Typically Apache or Nginx, but you can also use PHP's built-in server.
- Database: MySQL, PostgreSQL, or SQLite (optional but necessary for many applications).
Laravel Installation
The simplest way to install Laravel is to follow the official documentation. We will use the Laravel installer to create a new project.
laravel new Laravel-Install
Troubleshooting Common Issues
- Composer Not Found: If Composer is not recognized as a command, make sure it's added to your system's PATH.
- PHP Version: Ensure you’re running PHP 8.1 or higher. You can check your version with php -v.
- Permission Issues: On Linux or macOS, you might run into file permission problems. You can solve this by setting proper permissions or using sudo where necessary.
Conclusion
Congratulations! You have successfully installed Laravel on your local machine. Laravel’s elegant syntax and powerful tools will allow you to build robust web applications. Whether you’re developing a small project or a large-scale enterprise application, Laravel provides all the tools you need to succeed.
Next, you can explore Laravel’s features like routing, middleware, controllers, and Eloquent ORM to create more dynamic and efficient applications.
Happy coding!
A Step-by-Step Guide to Install Laravel
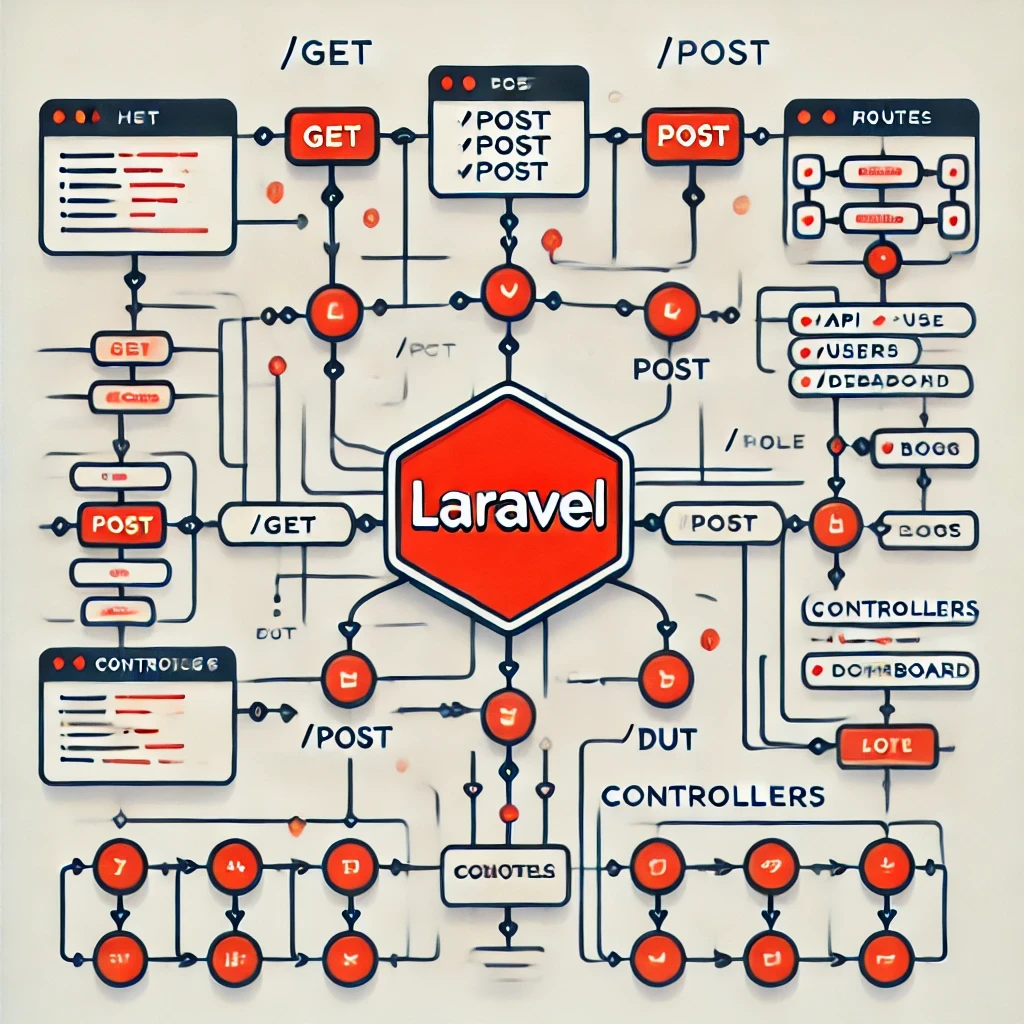
Mastering Laravel Routes A Complete Guide to Efficient Routing
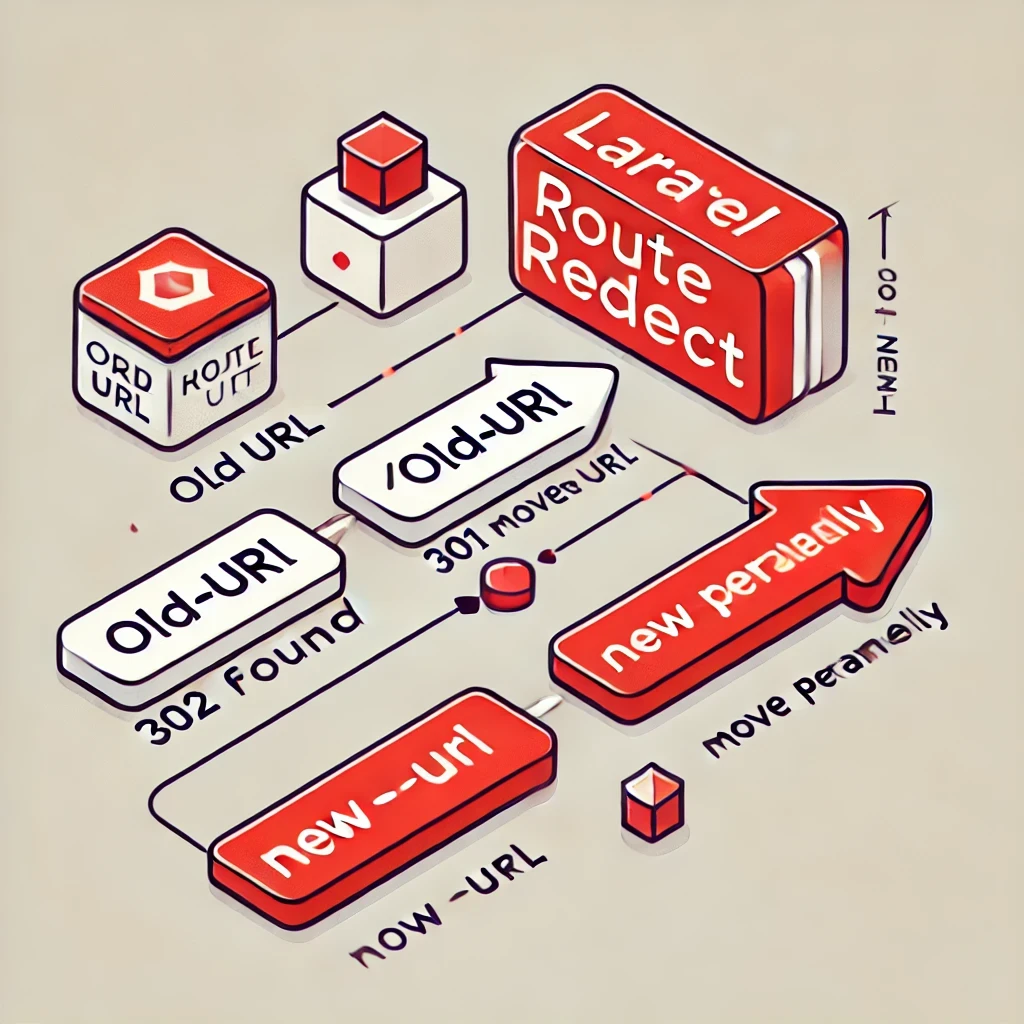
Laravel Route Redirection Simple and Efficient URL Management
Comprehensive Guide to Laravel Frontend Blade Snippets
A Comprehensive Guide to Laravel Form Validation
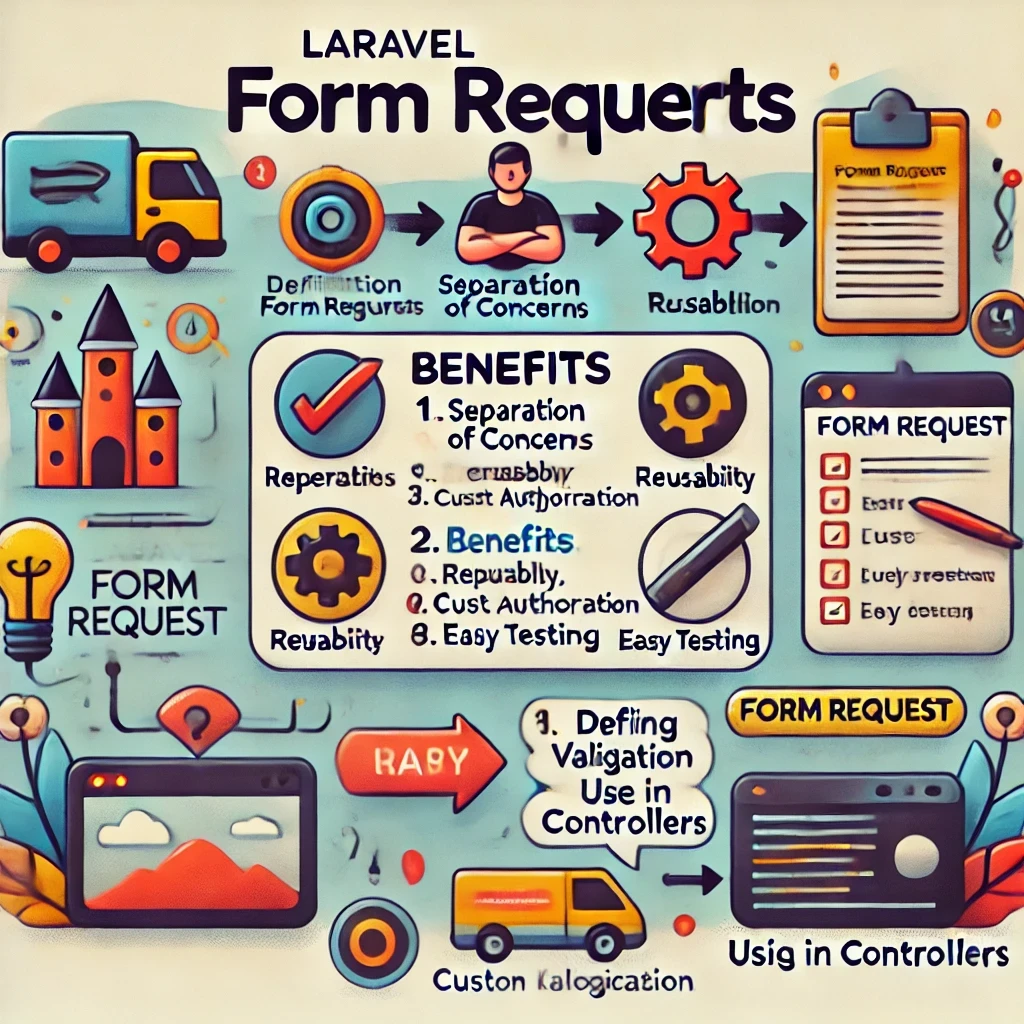
Mastering Laravel Form Requests
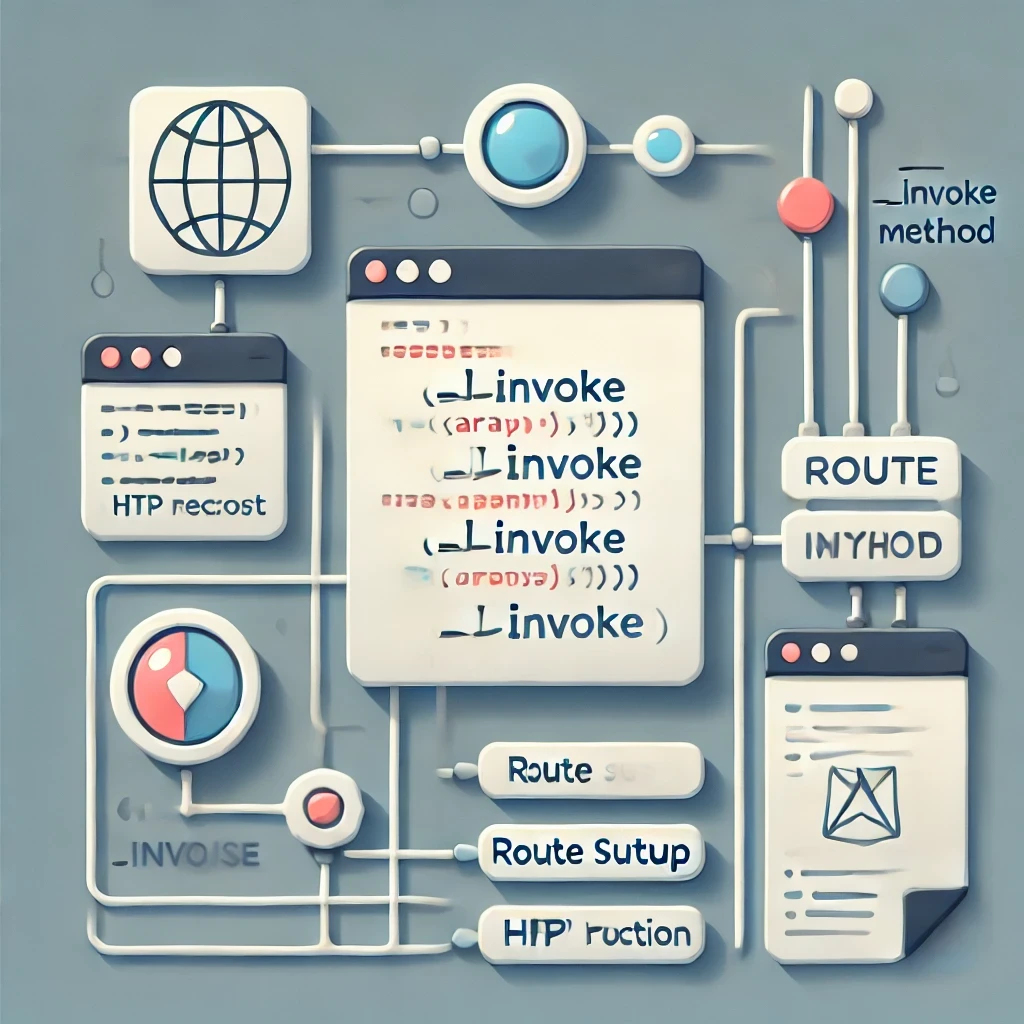
Exploring Laravel's __invoke Controller Method

Unlocking Lightning-Fast Search in Laravel with TNTSearch